

We start this lesson with a WATERPROOF ink pad. Yes, important here is that it's WATERPROOF.
I like Archival Ink, by the fabulous folks at Ranger Ink. Archival Inks come in lots of juicy colors. For this lesson, we'll be working with your basic Jet Black.
 Stamp one or many of an image you like on whatever kind of background you like.
  Today we're all about the umbrellas.
  Next, you're going to need two more tools.
 First tool . . . in my right hand, I'm holding a watercolor pencil -- this one, by Caran D'ache. You can find watercolor pencils, from all sorts of suppliers, at most good art supply stores. If you like to shop on-line, the link above is to Dick Blick.
For today's lesson in alteration, you need to be using a watercolor pencil -- not just a regular colored pencil (which are lovely in their own ways). We need a watercolor pencil because we're going to add water to the work, and that doesn't work with with a straight-forward colored pencil.
Second tool . . . in my left hand, I'm holding a watercolor brush that loads water in the barrel. (Also sold by Dick Blick.)
 Okay, now that you've got your tools, let's use them.
Use your watercolor pencil to color in areas you'd like to in your image/s. Here, I'm coloring- in one of the umbrellas.
 Below is what it looks like at this point. You can see the strokes of the pencil, and it looks very pencil-y. Maybe this is what you want for your project. If so, leave it just like that.
 Below is what it looks like at this point. You can see the strokes of the pencil, and it looks very pencil-y. Maybe this is what you want for your project. If so, leave it just like that.
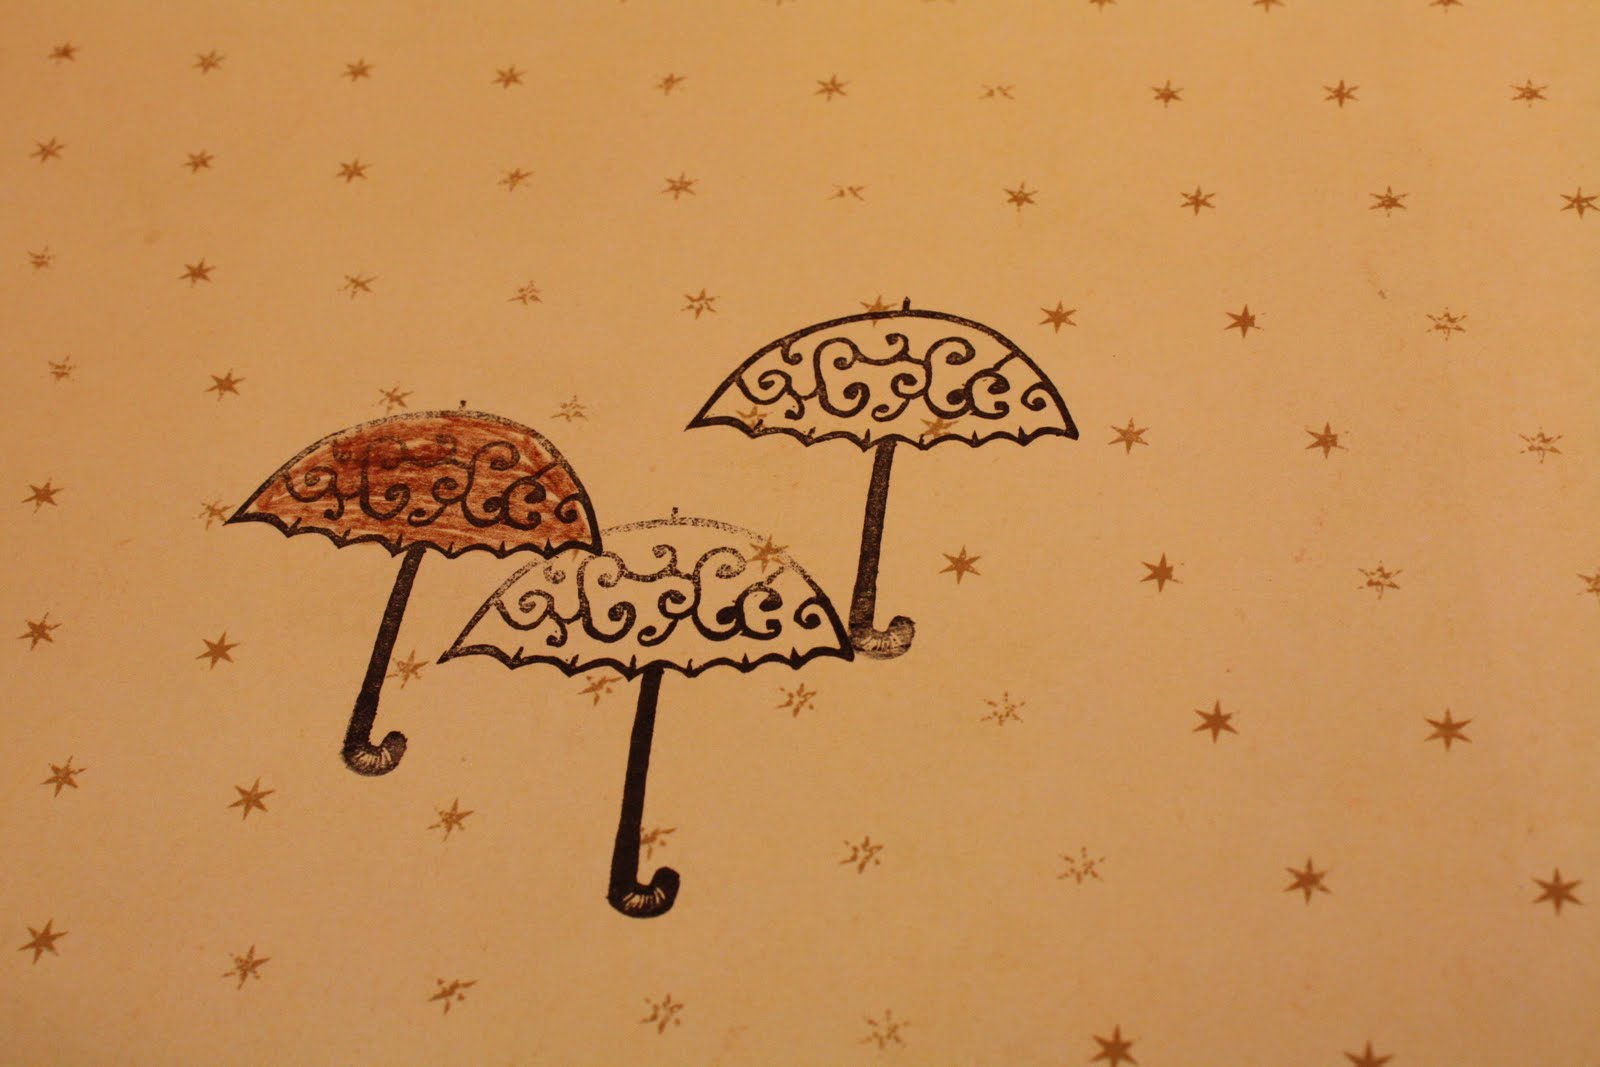 But you can also chose to use the watercolor brush to go over the pencil marks . . . .
And you end up with a much softer, blended, warm effect.
 This blended, soft look works especially well where you've repeated a stamped image over a large page space. It's a great way to unify the images, or chose one or two to highlight as different than the others.
Yay!! Go forth and play!!!

No comments:
Post a Comment